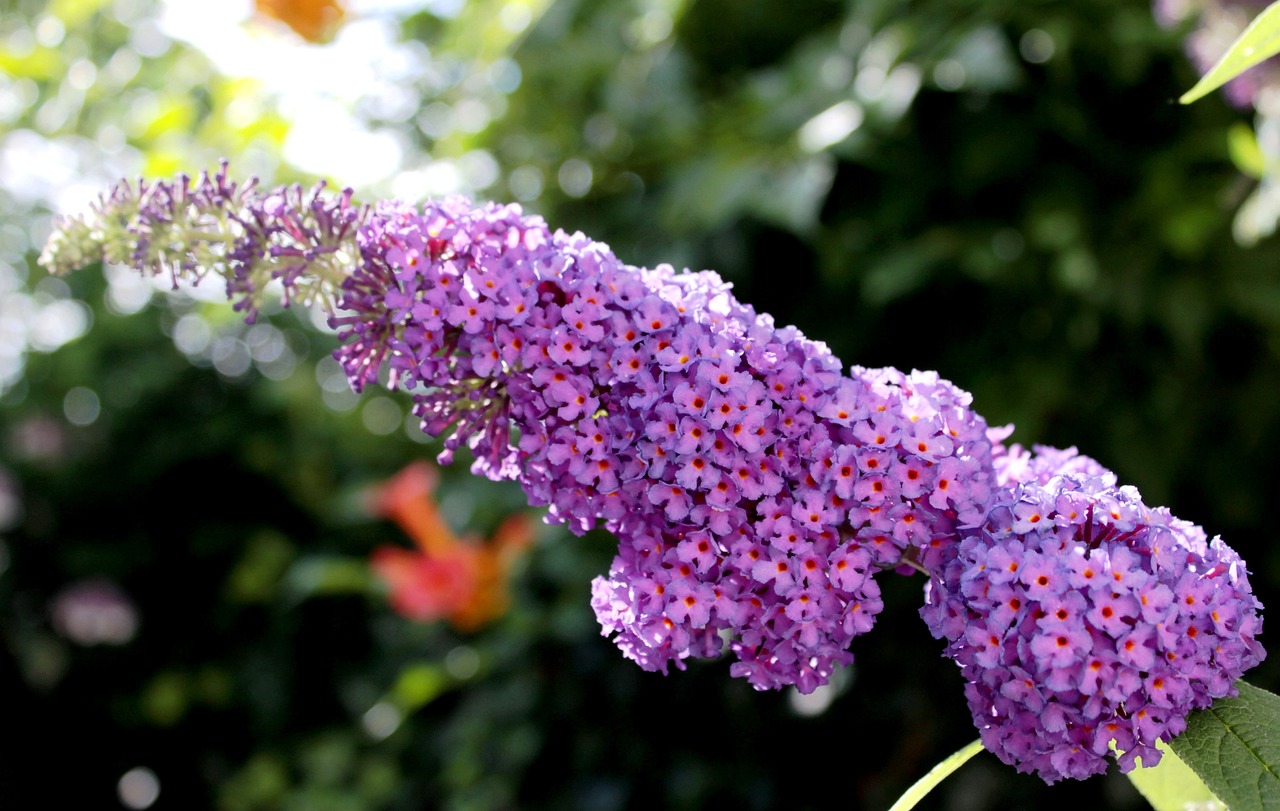
Butterfly bushes, scientifically known as Buddleja davidii, are not only a favorite among gardeners for their stunning, butterfly-attracting blooms but are also surprisingly easy to propagate.
Whether you’re looking to expand your garden, share these beautiful plants with friends, or simply want to enjoy more of their vibrant colors, propagating butterfly bushes can be a rewarding endeavor.
In this step-by-step guide, we will walk you through the process of propagating butterfly bushes from cuttings, allowing you to witness the transformation from tiny clippings to flourishing, blooming shrubs.
Why Propagate Butterfly Bushes?
Before we dive into the propagation process, let’s briefly discuss why you might want to propagate butterfly bushes in the first place. There are several compelling reasons:
- Expansion: If you have limited space in your garden but want more butterfly bushes, propagation allows you to grow new plants without purchasing them.
- Sharing the Beauty: Butterfly bushes are loved by many garden enthusiasts. Propagating them gives you the opportunity to share these lovely plants with friends and family.
- Customization: By propagating your butterfly bushes, you can choose specific varieties or colors that you prefer.
- Cost-Effective: Purchasing mature butterfly bushes can be expensive. Propagation is a cost-effective way to increase your garden’s greenery.
Now, let’s get started with the step-by-step guide to propagating butterfly bushes.
Step 1: Gather Your Materials
Before you begin, make sure you have all the necessary materials at hand. You’ll need:
- Pruning shears or sharp scissors: These will be used to take cuttings from the parent plant.
- A healthy butterfly bush: Ensure your parent plant is disease-free and vigorous for successful propagation.
- Rooting hormone: This encourages the cuttings to develop roots.
- Potting mix: Use a well-draining potting mix to plant your cuttings.
- Pots or containers: You’ll need containers to plant your cuttings in.
- Plastic bags or plastic wrap: These will create a mini greenhouse environment for your cuttings.
Step 2: Choose the Right Time
Timing is crucial when it comes to taking cuttings from your butterfly bush. The best time to do this is in late spring or early summer when the plant is actively growing.
Avoid taking cuttings during extreme heat or when the plant is stressed.
Step 3: Take the Cuttings
- Identify a healthy, non-flowering stem on your butterfly bush. It should be around 4-6 inches long.
- Using your pruning shears or scissors, make a clean cut just below a leaf node (the point where a leaf is attached to the stem). This is where the roots will eventually develop.
- Remove any leaves from the lower half of the cutting, leaving a few leaves at the top.
Step 4: Apply Rooting Hormone
Dip the cut end of each cutting into rooting hormone. This will stimulate root development and increase the chances of successful propagation.
Step 5: Potting Mix and Planting
- Fill your pots or containers with a well-draining potting mix.
- Make a hole in the soil using a pencil or similar object.
- Insert the cutting into the hole, ensuring that the leafless portion is beneath the soil surface. Gently press the soil around the cutting to secure it in place.
- Water the cuttings thoroughly.
Step 6: Create a Mini Greenhouse
To create a humid environment that encourages root growth, cover your pots or containers with plastic bags or plastic wrap. This will help retain moisture.
Step 7: Provide the Right Conditions
Place your potted cuttings in a location with bright, indirect sunlight. Avoid direct sunlight, as it can overheat the cuttings. Ensure the temperature remains consistent, ideally around 70°F (21°C).
Step 8: Monitor and Water
Check the soil moisture regularly. It should be consistently moist but not waterlogged. If you notice excess condensation inside the plastic covering, vent it briefly to prevent mold or rot.
Step 9: Be Patient
Rooting can take several weeks to a few months. Be patient and avoid disturbing the cuttings during this time.
You can gently tug on the cuttings to check for resistance, indicating that roots have formed.
Step 10: Transplanting
Once your cuttings have developed a healthy root system (usually when they have grown several inches tall), they are ready to be transplanted into your garden or larger containers.
Step 11: Caring for Young Plants
Newly transplanted butterfly bushes need care similar to mature plants. Ensure they receive adequate water, sunlight, and nutrients to promote healthy growth.
Step 12: Enjoy Your Blooming Butterfly Bushes
With proper care, your propagated butterfly bushes will grow and eventually reward you with their beautiful blooms, attracting butterflies and other pollinators to your garden.
In conclusion, propagating butterfly bushes from cuttings can be a fulfilling and cost-effective way to expand your garden’s beauty.
By following this step-by-step guide, you can successfully nurture cuttings into vibrant, blooming butterfly bushes, adding charm to your outdoor space and providing a welcoming habitat for butterflies. Happy gardening!


